


6–8 Week Weft Installation: Salon Guide to Sew In, Beaded, Clip In
Sew-in and beaded (micro-link) weft installs give the longest wear and the most secure hold, typically lasting several weeks between retouches. Clip-ins offer the safest DIY, no-commitment option for a night out, while tape and glue hybrids sit in between. Sew-in and bead work both require a trained stylist’s hands; clip-ins are the one method most people can master at home.
TL;DR:
- Sew-in and beaded weft installs typically last six to eight weeks, requiring professional application and periodic adjustments to maintain security and comfort.
- Beaded methods avoid heat and adhesives, making them lower damage options suitable for textured and fine hair, but they require regular repositioning as hair grows.
- DIY-friendly clip-in extensions are the safest full-at-home option, while sew-in and bead installs demand precise technique and should be handled by trained stylists.
- Proper installation involves checking tension, ensuring no pulling or discomfort, and conducting sample installs to prevent damage or uneven weight distribution.
- The choice of method hinges on hair density, scalp sensitivity, desired longevity, maintenance willingness, and budget, with no one-size-fits-all solution.
Table of Contents
- What Are the Main Weft Installation Methods?
- How Do You Install a Sew-In Weft?
- How Does Beaded Weft Installation Work?
- Which Temporary Weft Methods Work Best for DIY?
- How Do You Choose the Right Weft Method?
- What Do Stylists Actually Check Before Finishing an Install?
- Getting the Method Right Starts With the Right Consultation
- Ready to Try a Professional Weft Install or Learn the Technique Yourself?
- Sources
- FAQ
What Are the Main Weft Installation Methods?
Every weft installation method solves the same problem, attaching a strip of hair to your natural hair, but each one trades off security, damage risk, and cost differently.
- Sew-in (track and stitch): braided foundation with the weft hand-stitched onto it. Best for thick, medium-to-coarse hair. Lasts several weeks; needs a professional.
- Beaded/micro-link: silicone-lined beads clamp the weft to small sections of natural hair with no heat or glue. Suits fine to medium hair, including textured hair, since it skips the braid bulk. Lasts around six to eight weeks with periodic tightening.
- Bead + sew hybrid: beads anchor the row, stitching adds reinforcement. Suits clients wanting a flatter seam without sacrificing hold. Similar six to eight week span.
- Clip-in: pressure clips snap onto sections of hair, removable daily. Works on almost any hair type. Lasts one day at a time, reusable for months.
- Tape-in/glue hybrids: adhesive strips or bonding glue fuse the weft to hair. Suits low-maintenance clients avoiding beads or braids. Needs adhesive removal and reapplication every four to six weeks.
How Do You Install a Sew-In Weft?
A sew-in appointment runs longer than most other weft installation methods because the foundation work, not the stitching, eats the clock. Expect two to four hours depending on how much hair you’re adding and how many rows the stylist maps out.
- Consultation and hair assessment. The stylist checks density, scalp sensitivity, and existing damage before recommending row count or weft type.
- Sectioning. Hair is parted horizontally from nape to crown, usually in three to six rows depending on desired volume.
- Braid foundation (cornrow track). Each section is braided flat against the scalp to create a base the weft can be stitched to without pulling directly on the follicle.
- Stitching the weft. Using a curved needle and thread, the stylist sews the weft along the braid, working in small, even stitches to distribute tension.
- Blending. The stylist trims, layers, and sometimes thins the weft edges so the transition between natural hair and extension disappears.
Tools and materials shift depending on weft construction. Machine wefts are thicker and sturdier and pair naturally with sew-in installs, which means a heavier-gauge thread and a slightly wider needle hold up better than the finer tools used for delicate hand-tied wefts. If you’re deciding between the two constructions before booking, this breakdown of hand-tied versus machine weft options is worth reading first.
Sew-in is not ideal for very fine or low-density hair. The braid foundation needs enough natural hair to grip without pulling, and thin hair can show visible tracks or feel weighed down. Professional sew-in installations require precise sectioning and stitching, and improper tension raises the risk of scalp discomfort and follicle stress, which is exactly why this method belongs to a trained stylist, not a bathroom mirror project.
Maintenance: expect a tighten-up visit every six to eight weeks as new hair growth loosens the braid base. Left too long, the weight can shift downward and pull unevenly on the scalp.
How Does Beaded Weft Installation Work?
Beaded installs skip braids and heat entirely. Instead, silicone-lined micro beads act as the anchor point, clamping the weft in place in either a bead-only or a bead+sew variant. The stylist sections hair into small subsections, threads a bead onto a tool (usually pliers or a bead threader), slides it down to the desired position, and clamps it around a thin strip of the weft and the natural hair.
- Tools: micro beads, bead pliers or a threading tool, sectioning clips, a rat-tail comb.
- Common variants: bead-only for a flatter, lower-profile row; bead+sew for clients who want the security of stitching without a full braid foundation.
- Best suited for: fine to medium hair, and often preferred for textured hair because the seam sits closer to the scalp than a bulky braid track.
Tension is where beaded installs succeed or fail. Stylists typically leave a small gap of space between the bead and the scalp so hair can move naturally as it grows without the bead dragging on the follicle. Clamp too tight and you get headaches or visible tension at the hairline within days. Clamp too loose and the bead slides, leaving the weft hanging.
Pro Tip: Run your fingers along a freshly installed bead row and gently tug. If you feel immediate resistance at the scalp rather than slight give, the bead is set too tight and should be repositioned before you leave the chair.
Because beaded installs avoid adhesives and heat entirely, they’re generally lower-damage and fully reusable, which is why many stylists recommend them for clients who’ve had rough experiences with tape or glue in the past. The tradeoff is upkeep: beads need repositioning periodically as hair grows, and hand-tied wefts used in bead installs demand more careful trimming since the seam is thinner and less forgiving of uneven cuts.
Which Temporary Weft Methods Work Best for DIY?
If you want a weft you can put in and take out without a stylist, clip-ins are the one format built for that. Most professional guidance points to clip-ins as the only weft style reliably suited to full at-home installation; sew-ins and bead work are safest left to trained hands.
- Section hair from ear to ear across the crown, clip the top layer out of the way.
- Tease the root slightly at each section for grip, then snap the clip-in weft closed against the scalp, working from the nape upward.
- Blend edges by combing your natural hair over the top row and lightly curling or straightening to match texture.
Tape-in and glue-in wefts sit between clip-ins and sew-ins. A tape-in uses pre-taped weft strips sandwiched around a section of hair; a glue-in uses a bonding adhesive applied directly to the weft. Both avoid needles and beads, but adhesive contact with the scalp carries its own risk. Never apply tape or glue directly against the scalp itself, and avoid reapplying over the same section repeatedly without a break, since repeated adhesive contact can weaken the hair shaft.
Favor temporary methods when you need hair for a single event, you’re unsure about committing to a longer install, or you have a scalp condition that makes beads or braids uncomfortable. The most common DIY mistake is clipping too close to the hairline, which creates visible bulk. Leave at least an inch of natural hair above your part before the first clip row.
How Do You Choose the Right Weft Method?
Match the method to your priorities before you match it to a Pinterest photo. Four questions decide most of this for you: how long do you want it to last, how dense is your natural hair, how sensitive is your scalp, and how much upkeep are you actually willing to do?
- Longevity first? Sew-in or bead+sew hybrids hold the longest between visits.
- Damage-conscious or sensitive scalp? Beaded, bead-only installs skip adhesives and heat.
- Fine or low-density hair? Lean toward hand-tied wefts in a bead install rather than a bulky sew-in braid. Our guide to wefts for fine hair walks through the specifics.
- Budget-conscious or temporary need? Clip-ins cost the least upfront and require zero salon time.
Before booking, ask your stylist directly: Can I see a sample install first? How many grams are you placing per row? Is this a machine weft or hand-tied weft, and why did you choose it for my hair? How long will the appointment actually take?
A controlled sample install reduces costly errors by showing whether the chosen weft lies flat and how it behaves after the first wash, before you commit to a full head. If a stylist refuses to do one or brushes off questions about grams per row, that’s a red flag worth walking away from.
Cost and time by method, roughly speaking: clip-ins run lowest upfront with a same-day setup measured in minutes. Tape/glue installs take about an hour and need refreshing every four to six weeks. Sew-in and beaded installs run two to four hours in the chair and typically need attention every six to eight weeks to stay comfortable and secure. If you want the full pricing breakdown by service package, HairLocks lists its premium extension services with ranges for each install type.
What Do Stylists Actually Check Before Finishing an Install?
Tension is the single most common installation mistake, in sew-in and bead work alike. A row that feels fine sitting still can pull sharply the moment you tilt your head back to wash your hair. Stylists commonly ask clients to move their head, look up and down, and run a brush lightly across the row before calling the install finished, checking for slipping or pulling that wasn’t obvious while you sat upright.
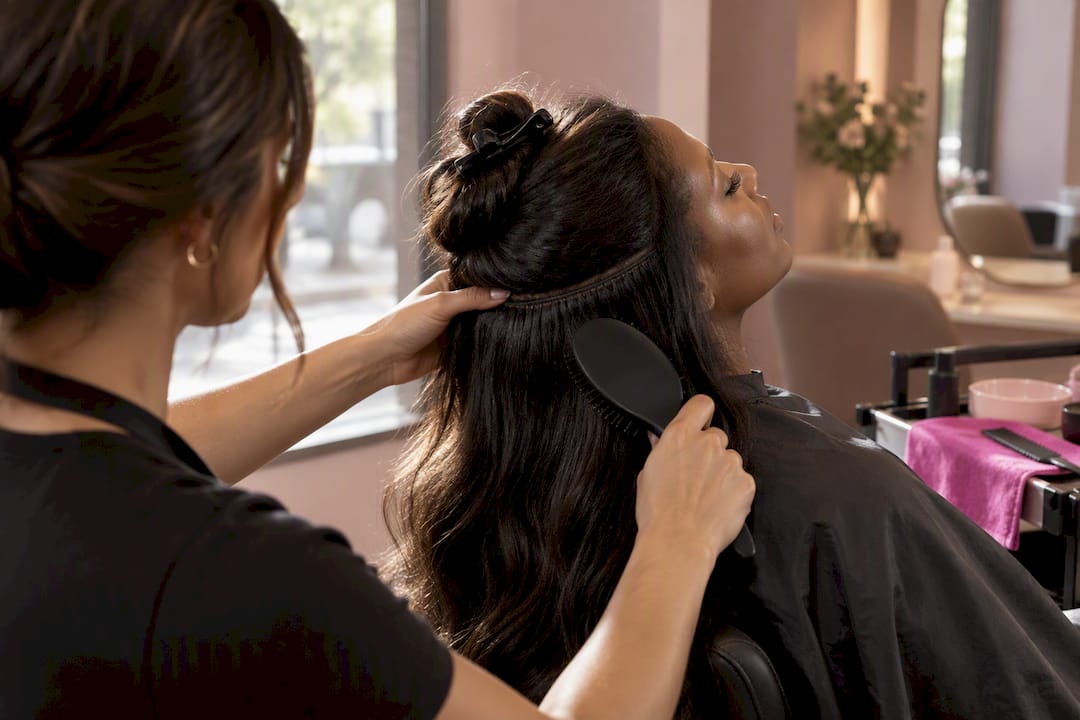
Sample installs matter for the same reason. Salon guides recommend testing seam behavior, wash response, and end fullness on a small section before committing to a full head, especially with a weft brand or construction you haven’t used before.
Fine hair needs its own protective approach: smaller sections per row, lighter grams per weft, and beads over braids whenever possible. Watch for early traction signs, tenderness at the hairline, small bumps along the part line, or a headache that starts within hours of the install. Our guide on preventing traction from extensions covers what to do if you notice these signs early.
Pro Tip: Ask your stylist to document the sample install, stitch count, bead size, total grams. That record makes every repeat visit faster and more consistent, and it gives you a paper trail if something feels off later.
Getting the Method Right Starts With the Right Consultation
Founder Michele has spent 30 years watching clients choose the wrong weft method for the right reasons, usually because nobody explained the tradeoffs first. HairLocks builds every recommendation around a hands-on consultation and a sample install, mapping hair density, scalp sensitivity, and lifestyle before ever picking up a needle or a bead.
The decision between sew-in, bead, and temporary methods isn’t about which is “best.” It’s about which one your hair and your week can actually support. That’s worth a real conversation before it’s worth a chair appointment.
— HairLocks
Ready to Try a Professional Weft Install or Learn the Technique Yourself?
HairLocks doesn’t just install wefts, it also teaches the method to stylists who want salon-grade skill under real supervision. If you’re a professional looking to add weft installation to your service menu, or you simply want to understand the technique at a level beyond internet tutorials, HairLocks runs an in-person workshop.
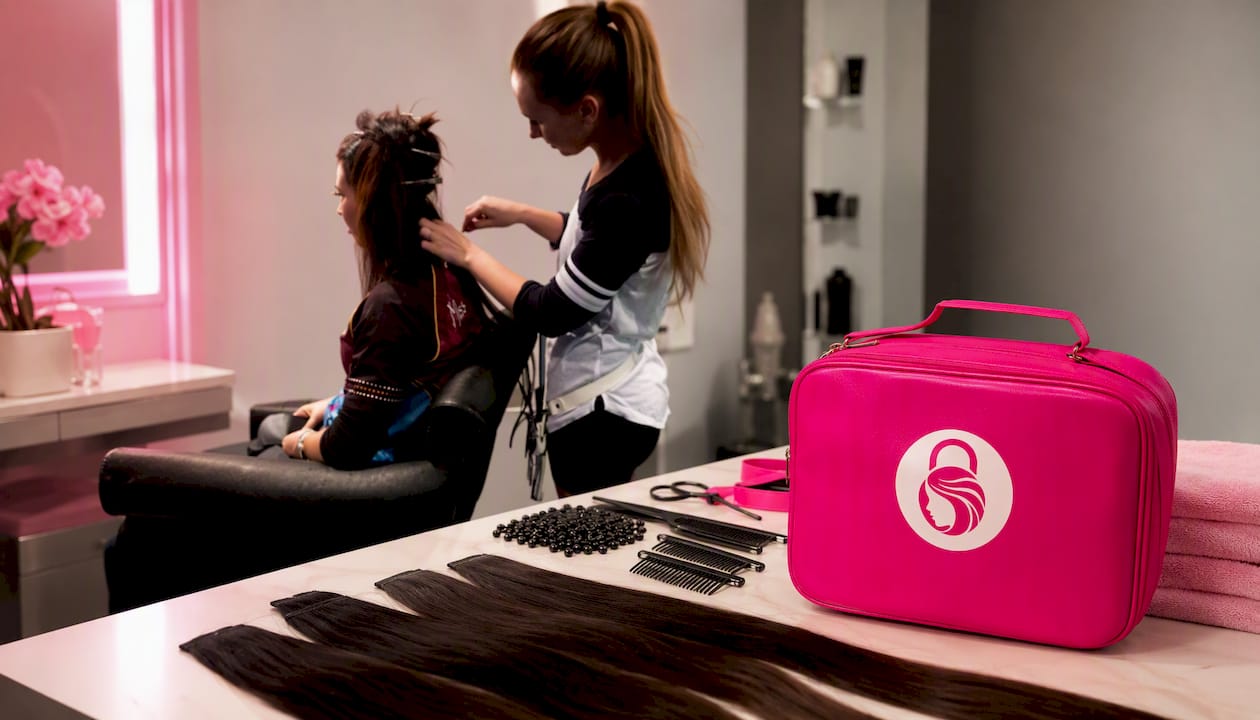
The WORKSHOPS 5-hour session covers sew-in and beaded technique, sectioning strategy, tension control, and blending, and it’s built around the same sample-install approach Michele has used with clients for three decades. Full details are on the workshop product page.
If training isn’t what you’re after, and you’d rather have someone assess your hair directly, HairLocks also offers a personalized consultation, color match, and hair assessment to figure out which method actually fits your density and goals before you spend a cent on wefts. And if thinning at the part or crown is the real concern rather than length, the Top-Lock V-Part Topper gives discreet coverage without a full weft install at all.
Book a consultation or reserve your workshop seat through the HairLocks extension pricing page to get started.
Sources
- How to Apply Weft Hair Extensions with Beads - Alove Hair
- Weft hair: Types, benefits, installation & care guide - The Nica Collection
- How To Apply Weft Hair Extensions: Step-By-Step Tutorial – Cooviphair
- How to Install Weft Hair Extensions: Salon Method Guide - Hibiscus Hair
FAQ
What Are the Main Methods for Attaching Hair Extensions?
The core weft installation methods are sew-in, beaded/micro-link, bead+sew hybrids, clip-in, and tape or glue-in. Sew-in and beaded installs offer the longest hold, typically six to eight weeks, while clip-ins are fully temporary and removable daily.
What Is the Newest Approach to Weft Installation?
Bead+sew hybrids have gained popularity as a newer standard because they combine the flatter profile of beads with the extra security of stitching. Salons often test this hybrid with a sample install before recommending it for a full head.
Which Weft Installation Method Is Best Overall?
There’s no single best method, it depends on your hair density, scalp sensitivity, and how much maintenance you want. Beaded installs suit fine or textured hair with lower damage risk, sew-ins suit thicker hair needing maximum hold, and clip-ins suit anyone wanting a no-commitment option.
Can I Install Weft Extensions at Home Myself?
Clip-in wefts are the one method most professional sources consider safe for full DIY installation. Sew-in and beaded installs involve tension and placement decisions that are best handled by a trained stylist to avoid scalp stress or uneven weight distribution.
How Much Does a Professional Weft Installation Cost?
Cost depends on the service package and hair amount you choose. HairLocks lists exact pricing for each install tier, from Mini Mane through Rock Star, on its extension pricing page.